This post is written for those who have purchased an ATM from Prineta, or who are receiving an ATM from Prineta for an ATM Placement so you will know what to expect when your new ATM arrives.
Be Prepared for Arrival
Before the ATM arrives you will receive an email from Prineta with the shipping/tracking information and estimated arrival date for the delivery. Please inform your staff about the ATM delivery so that they can sign for and be expecting the package ensuring there is no problem with the delivery. We have encountered situations where the employees didn’t sign for the shipment because they weren’t prepared to receive such a large package. Refusing a delivery creates a lot of unnecessary complications.
The ATM will come in a cardboard box on a small crate, about 21 inches by 29 inches, and about 5 feet tall. The ATM package will weigh approximately 225 pounds. You’ll need to use a dolly (hand-truck) to move the ATM package.

Package Inspection
Upon delivery of the package, while the delivery person is still there, the first thing you should do is inspect the package for any damages or mishandling. The delivery people do not usually stick around for long so be ready to do the inspection upon arrival.
Major Damage:
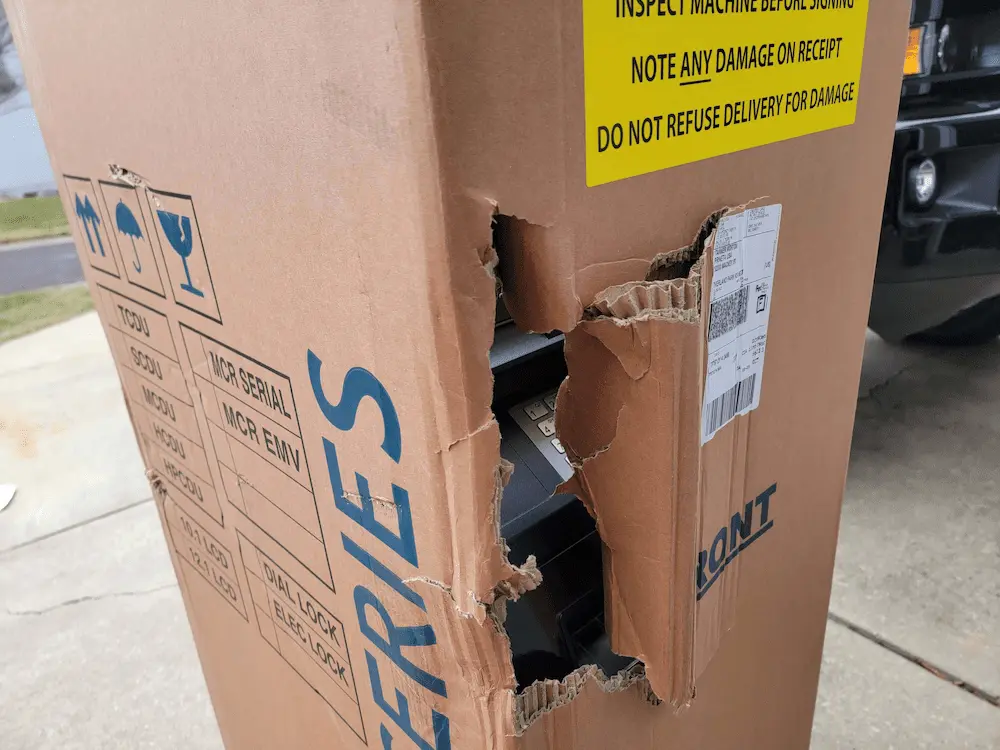
While uncommon, sometimes major damage will occur. This will be extremely easy to notice. For example, this ATM box which unfortunately had a forklift driven into it:
Minor Damage
As you have probably noticed from other shipments you’ve received of various items, it’s not uncommon for the box to get dinged up a bit. While they are not always of concern, these type of damages still need to be recorded on the Bill of Lading in case the ATM inside happens to be damaged. Here’s an example of a box with minor damages.
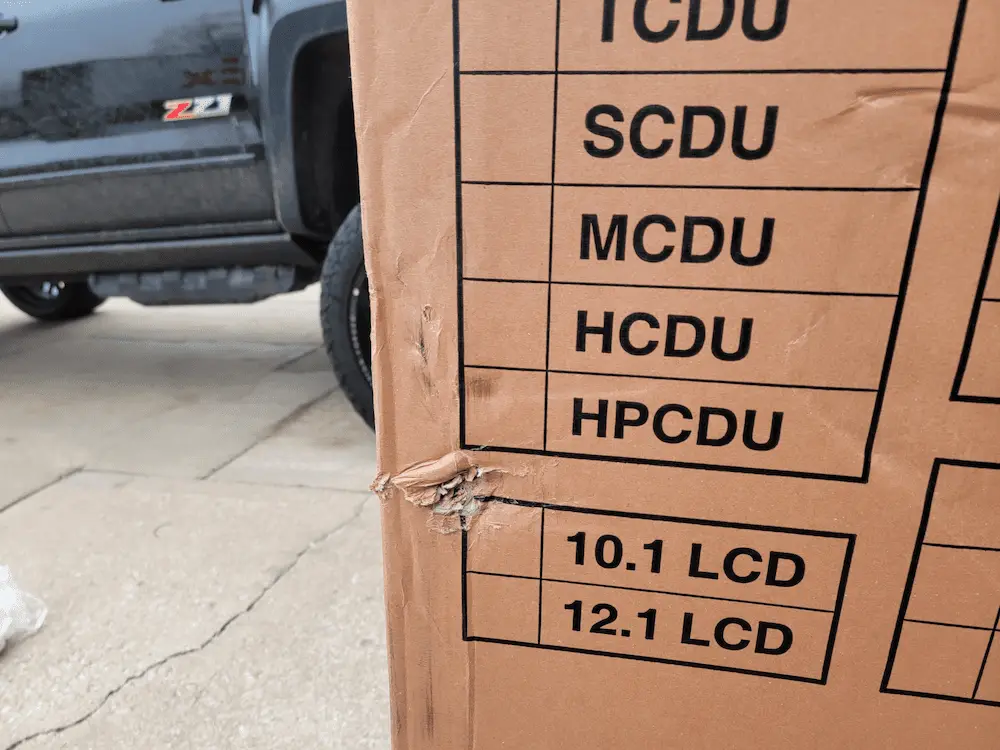
The ATM is packaged in a way so that the ATM will remain protected from minor dings like this one, but it’s still worth noting.
Tipped Box Indicator
Some boxes will come with a “Tip-N-Tell” or tilt/drop indicator. Check to see if your box has a tilt indicator and if it does, see if it indicates that the package was dropped.
The cardboard box may look perfectly fine but the tilt indicator still shows that the ATM box has been tipped over on it’s side during shipment. Since we are dealing with mechanical equipment it’s possible that the ATM is still damaged from a drop or tilt even though there’s no large impacts on the box.
What To Do If Box Shows Damage
If you’re seeing any of the above damage indications, do not refuse the shipment. It does not mean that anything is wrong with the ATM itself, or that you need to ship the machine back to the manufacturer, it is potential evidence that if the ATM is damaged it could be the fault of the carrier.
Delivery Person Is Still There:
Mention these damages to the delivery person and be sure to make notes of this on the delivery receipt or bill of lading (BOL). Take a few pictures of the damages on the box or tilt indicator and email them to your Prineta contact/representative right away.
Delivery Person Has Left:
If the package is damaged, and the delivery person has already left, do not unbox the ATM. You will need an immediate inspection from the carrier. Leave it in the original packaging until the shipping company can come by to inspect it.
The Unboxing
When unboxing the ATM, do not immediately discard the packaging materials. It’s a good idea to save all the packaging material for a week or two. If there are any problems with the ATM it can be shipped back to the manufacturer using the original packaging. For this reason it’s best to try to unbox it in a way where the materials can be reused potentially instead of “tearing into it”.
- Use scissors to cut off the two plastic straps.
- Pull the lid off the top of the cardboard box.
- Take the styrofoam out of the top of the box.
- Slide the box straight up off of the pallet.
- Take the plastic bag off of the ATM.
- Remove the shrink wrap.
ATM Inspection
Exterior Inspection
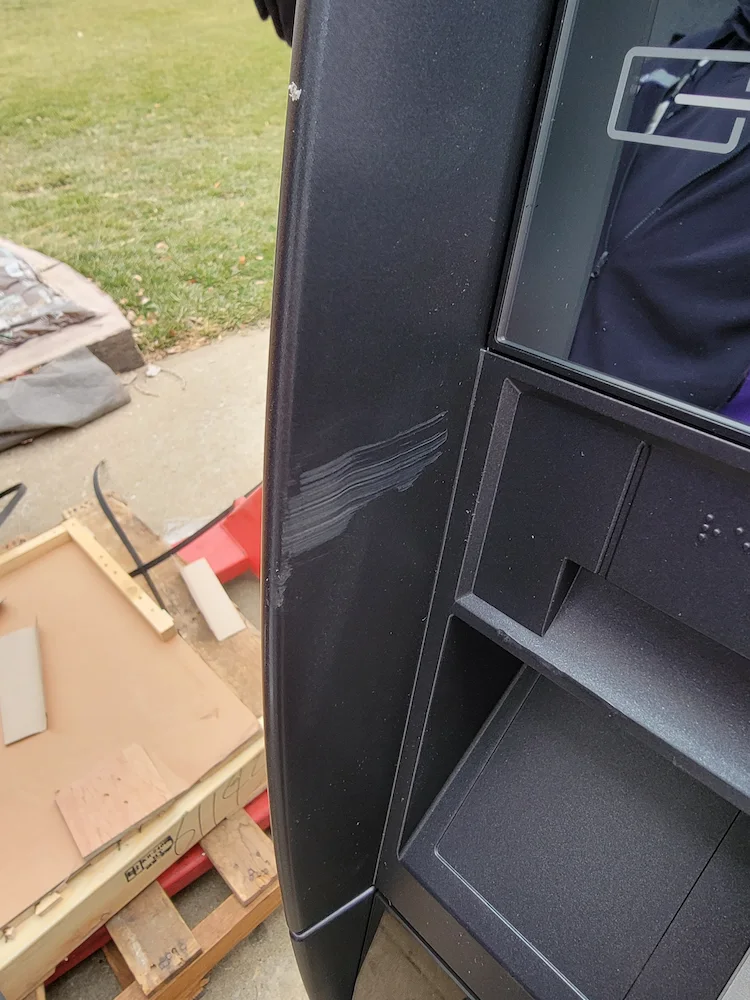
First thing you should do upon unboxing your machine is a simple visual inspection. Do you see any big scratches on the machine / plastic / screen etc..? Things not lining up? Anything unusual?
Interior Inspection
There is a small cardboard box that comes with the ATM which contains a paper roll, an operator manual, set up instructions, and a set of keys, among other things. Get the keys and use them to open up the top of the ATM. Take a look inside the top part of the ATM and see if there are any obvious damages or loose parts.
Use the key to unlock the plastic door covering the safe’s lock. All Prineta ATMs come with electronic locks on the safe. If your ATM came pre-progrmmed, open the safe using the pre-set password (from the pre-programming information). If your ATM was not pre-programmed, use the default password (123456). Once the safe is open, take a look inside at the dispenser and cash cassette, make sure everything looks normal. Even if you’re not familiar with ATM parts, you should be able to notice any major problems or things that look “out of place”.
What To Do If The Unboxed ATM Shows Sign of Damages
If you do notice any damage or unusual features be sure to take photos of them and email them to us.
If anything is wrong with the ATM, we must submit a request to return the ATM to the manufacturer within one week of the arrival date.
Sometimes the ATM will be secured to the pallet with screws. Use a screwdriver to remove it from the pallet. Once detached from the pallet, you can slide the ATM off or “walk” it off of the pallet.
Now the ATM is ready for a test drive.
Take it for a Test Drive
The ATM should be operated and tested before installing it (bolting it to the floor). Therefore, if you discover that the ATM is not working properly you don’t have to uninstall everything.
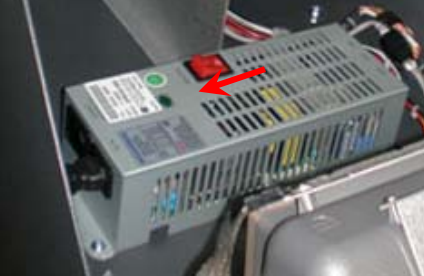
Connect the ATM using your preferred network connection method (ethernet cable, phone line). Plug in the ATM to a standard electrical outlet and flip the power switch.
If your ATM came pre-programmed, once it communicates with the network/processor some settings should automatically change and override the factory settings, then it should be ready for operation.
Now it’s time to load some cash. If you are the designated vault cash loader, go ahead and load some $20 bills in the cassette.
For cash loading instructions, see our ATM Cash Loading Guide
Try to use the ATM and do a $20 withdrawal. Once you’ve done your first test transaction and confirmed everything is working properly, it is time to install the ATM.
For installation instructions, see our ATM Installation Guide