This guide gives instructions on how to change or load receipt paper ATMs from various manufacturers
How to Change ATM receipt paper for Hyosung ATMs
Hyosung ATMs
How to change ATM receipt paper for GenMega machines.
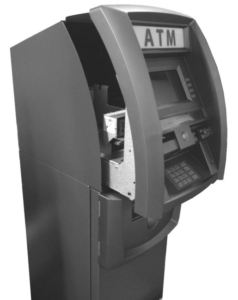
Step 1: Open the top Bezel.
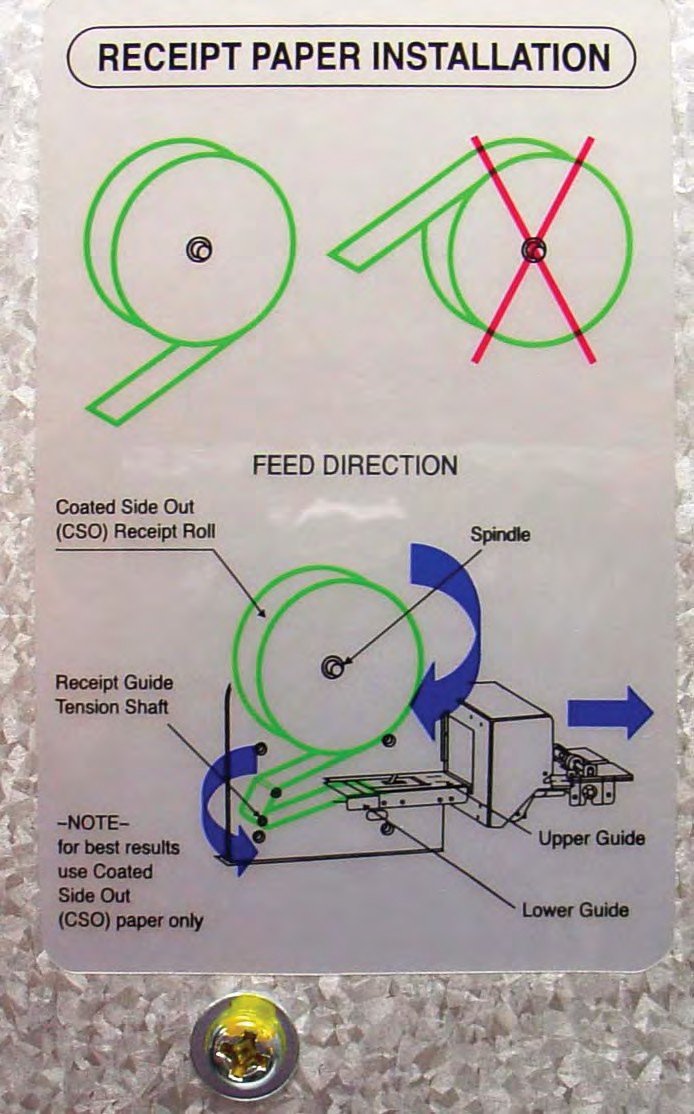
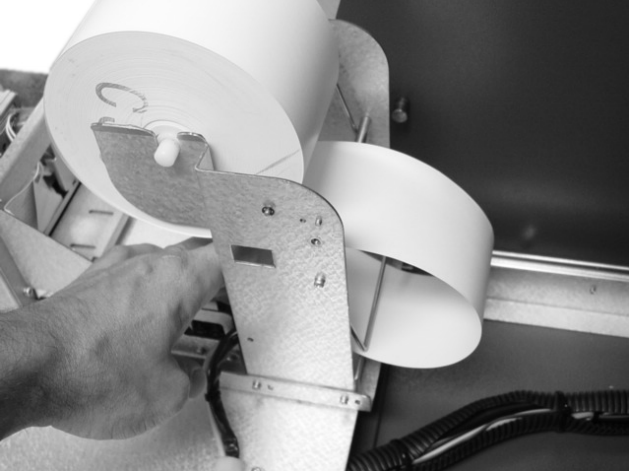
Step 2: Place the paper onto the supplied spindle with the Coated Side Out as shown in the picture. Feed the paper out through the back, where it will curl back under the tension bar.
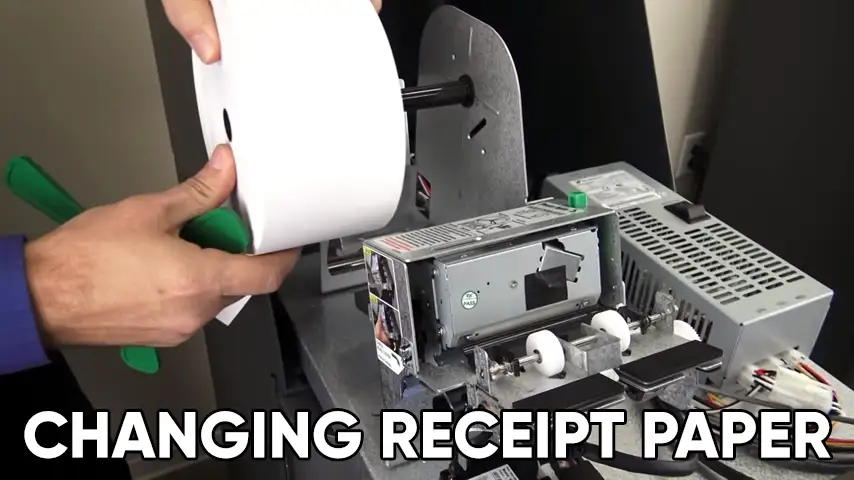
Step 3: Prepare the new paper roll.
1. Make sure the roll is in its proper roll form. (A deformed roll may cause jamming problems.)
2. When replacing the new roll, make sure the end of the roll paper is clean cut.
Step 4: Feed the paper over the bar behind the roll and under the spring loaded tension bar. Slide the paper through the guides. The paper will not feed until the machine is initialized (powered on). If the paper does not feed, make sure the paper is all the way in the loading guide. Also make sure the roller assembly is closed (see below)
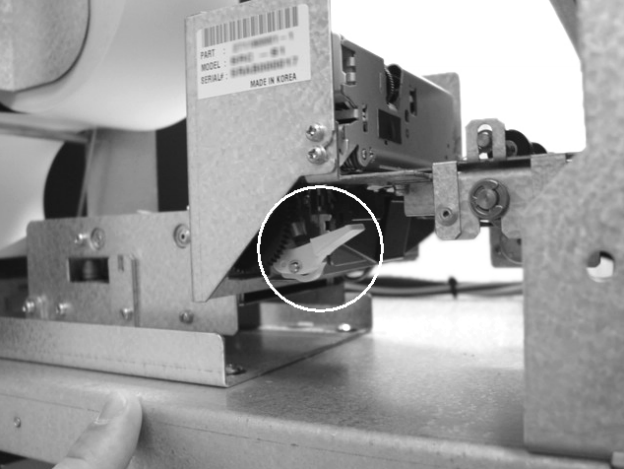
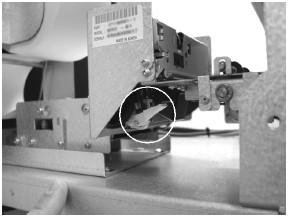
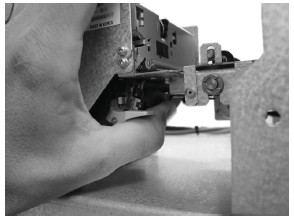
Step 5: The roller assembly can be opened by pressing down on the green lever in front of the printer.
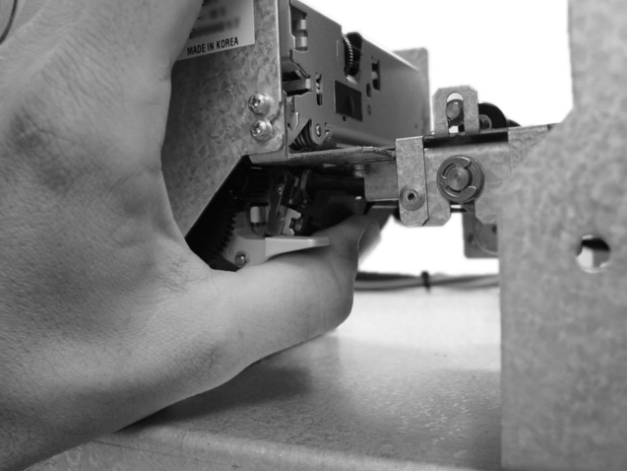
Step 6: To close the roller assembly, lift up on the rollers. The roller assembly must be completely closed before the printer will operate. Press up on the roller assembly rather than on the green lever to close. When finished loading paper, close the top bezel and remove the key.
Triton Traverse
1. Open the control panel by unlocking the top enclosure and pulling the door and tray forward.
2. If paper remains on the roll, move the Green lever down to release the print head. Carefully pull the excess paper back through the printer.
** Caution ** DO NOT pull receipt paper backwards through the printer with the GREEN lever in the UP position! This may leave paper fragments that can cause paper jams.
3. Return the Green lever back to the Up position, ensure it clicks securely. You may push up on the print roller to aid in this operation.
4. Remove the paper and spool from the paper bracket.
5. Remove the tab securing the end of the new paper roll to itself. Use scissors to cut off all of the paper up to and including the glue tab, producing a clean square cut.
6. Remove the plastic spindle from the old paper roll and insert into the new roll of paper. Use a 5 inch roll of 58 mm wide thermal paper, printer applicable, with a small center. Replacement paper is available from Triton.
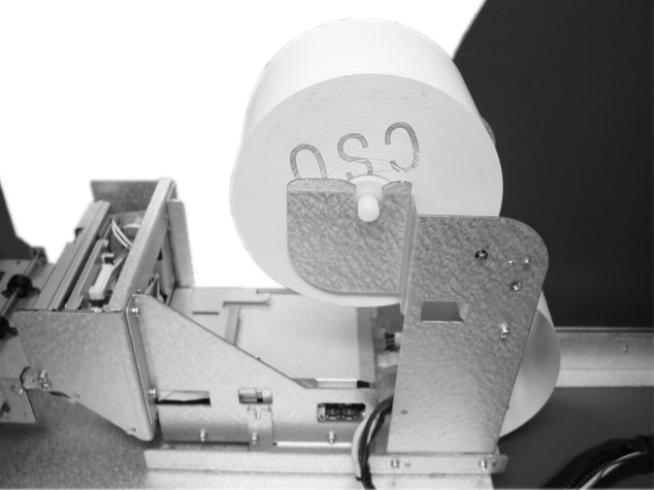
7. Be sure the spindle is inserted so that the paper will feed from the BOTTOM of the roll when it is installed on the paper bracket and facing the rear, where it will curl back under the tension bar.
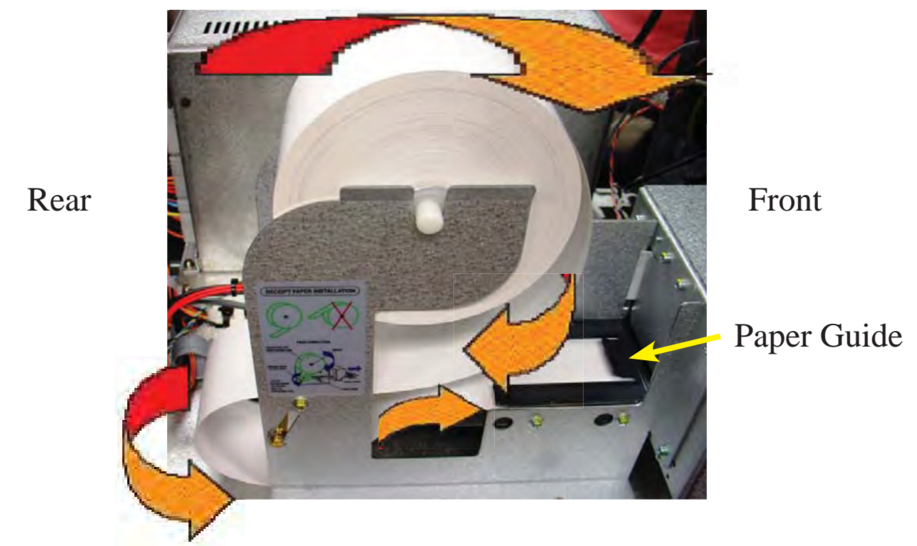
8. Place the new roll back on the paper bracket by sliding the small, slotted end of the spindle onto the slot in the bracket as shown. Note that the paper feeds from the BOTTOM of the roll, toward the rear!
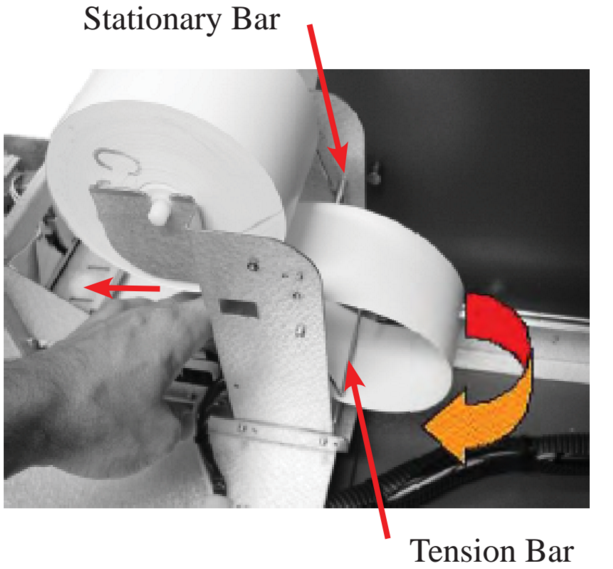
9. Feed the end of the paper over the stationary bar, around and under the tension bar, and into the Printer Paper Guide. (Illustration from step 7) Push the paper forward into the printer. The printer will activate and automatically feed the paper through the printer and present approximately 4 inches of paper out the front.
NOTE: A new full roll of paper will be heavy enough to produce a loop, as shown at the right. This is normal. As the roll depletes, the loop will get smaller and even-
tually contact the Tension Bar. (This view from the opposite side for clarity)
 A diagram is posted on the left side of the printer.