The purpose of this guide is to provide instructions for loading custom graphics into your ATM using the V05.xx.xx AP software.
Up to 8 custom graphic images can be loaded on each ATM and will rotate between each image and the ATM ‘Welcome’ screen, while the ATM is idle.
The size of the graphics is dependent on the model of ATM and screen size.
The following table gives the resolution (image size) needed for each model ATM.
Genmega:
- G1900 / G2500 / G2900 / G3500 / GT3000 = 800 x 480 pixels
- GT5000 / G6000 = 1024 x 768 pixels
- Onyx (G3000) = 1280 x 800
Hantle:
- 1700W = 800 x 480 pixels
- C4000 / T4000 = 800 x 600
Specs for Custom Screens:
The custom screens should be saved as JPG (JPEG) images.
The file naming convention for all machines is the same:
center1.jpg through center8.jpg
The name of the file indicates the order in which the images will appear. center1.jpg would be the first custom ad screen to show, then the Welcome screen, then center2.jpg, then the Welcome screen, then center3.jpg … etc. for each active image.
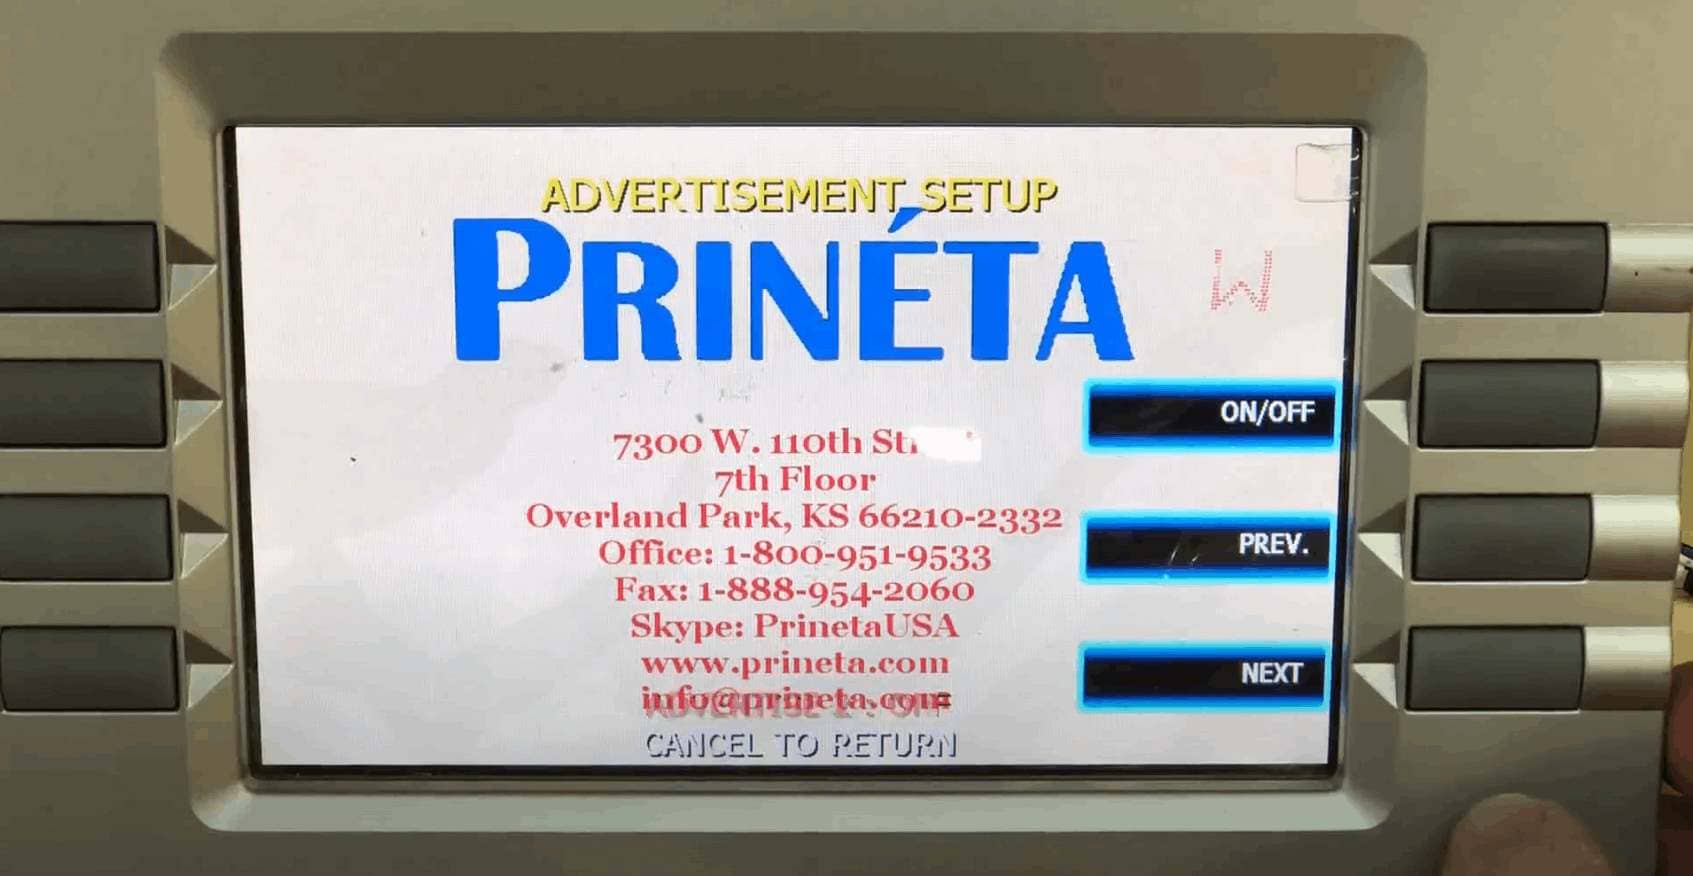
Once the screens are loaded into the ATM, they will need to be activated before they’ll show up.
That is done in the Customer Setup Menu Screen Graphics Advertisement Enable / Disable.
Loading custom images to the ATM is done via GenRMS Pro monitoring software, or by loading directly at the ATM with a memory device.
There are several mainboard types depending on which model ATM you have and how old it is.
The loading procedure is different, so it’s important to make sure this is correct.
There is a guide available to identify the different ATM control boards, however these general guidelines can help.
If your ATM has the internet (Ethernet) port on the left edge of the mainboard, then it’s an ACU1
If your ATM has the internet (Ethernet) port on the top edge of the mainboard, AND there is only 1 USB port located on the top edge of the board, near the right corner, then it is ACU3 or ACU5.
ACU6 boards began shipping in late March 2014, and are identified by an ACU6 sticker which appears on the SD memory slot or board cover. They also have 2 USB ports side by side on the top edge of the board, closest to the right corner.
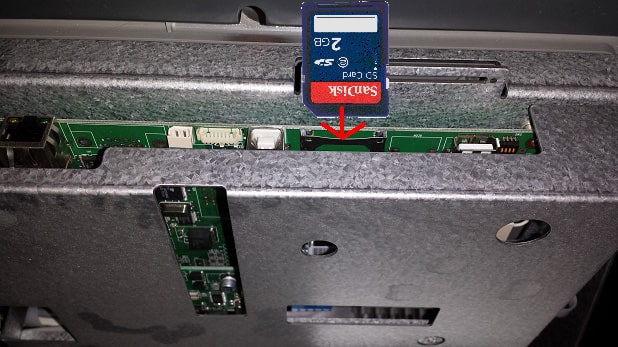
– For ACU1, ACU3 and ACU5 board, you must load graphics with an SD memory card.
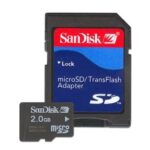
– For ACU6 boards, you can use either an SD card or a USB memory device.
Quick Reference:
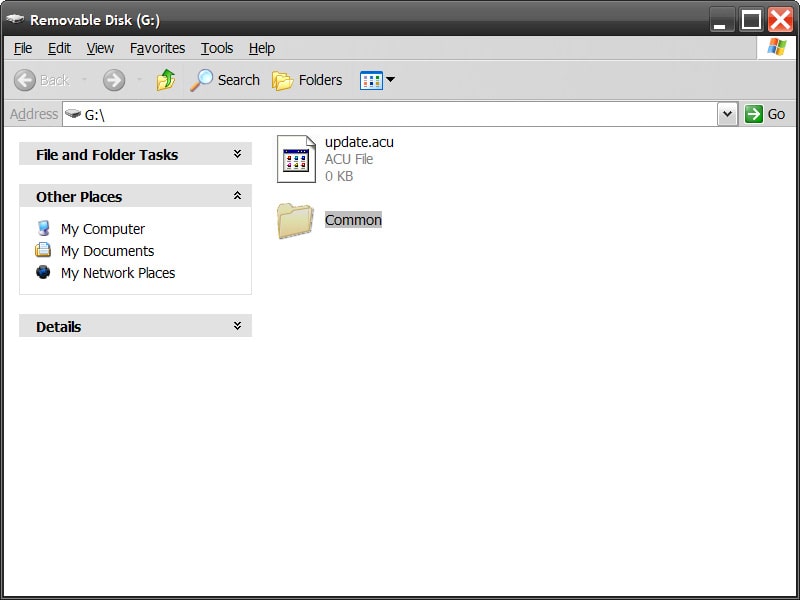
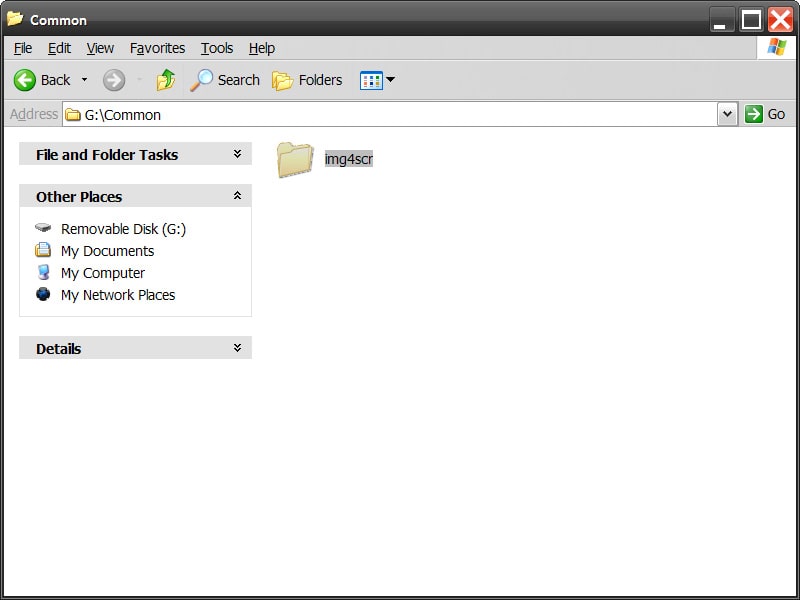
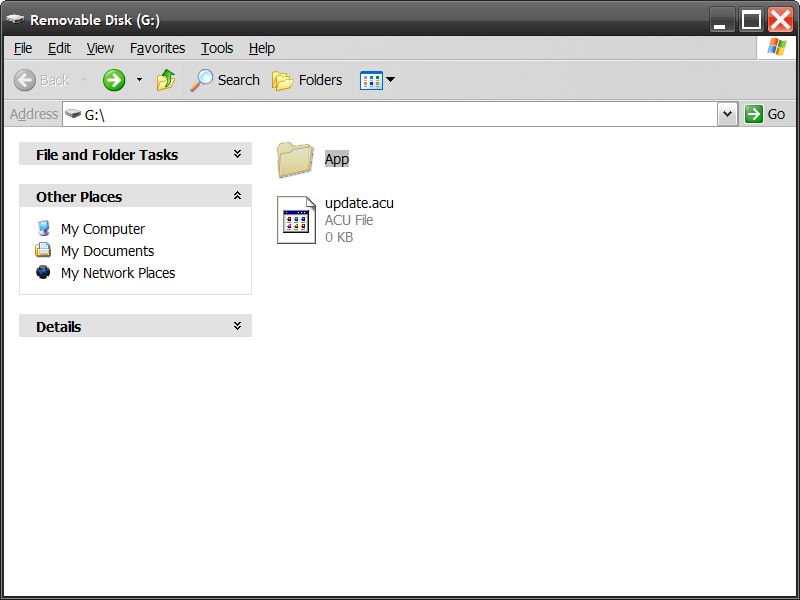
– For ACU1/ACU3/ACU5 the files should be copied in the following directory structure:
[SD Card] Common/img4SCR/center1.jpg~center8.jpg
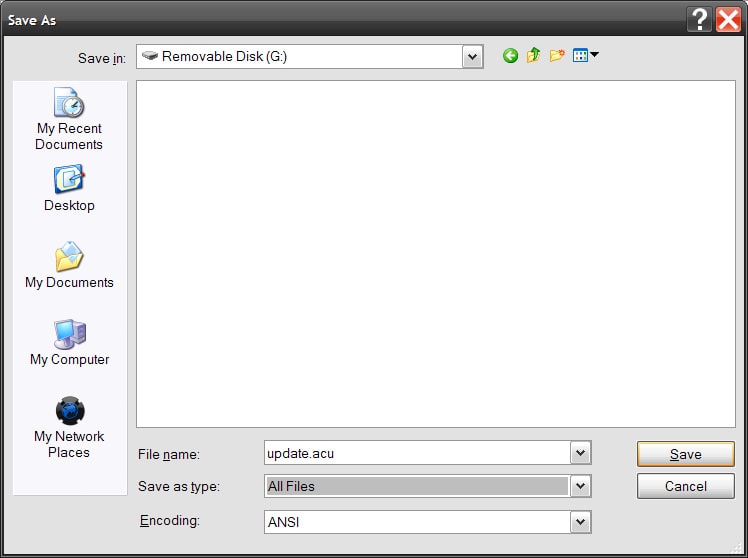
update.acu file must appear in the root directory
– For ACU6 boards, use this directory structure
[USB or SD card] APP/Common/img4scr/center1.jpg~center8.jpg update.acu file must appear in the root directory
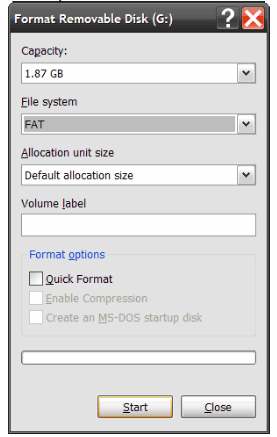
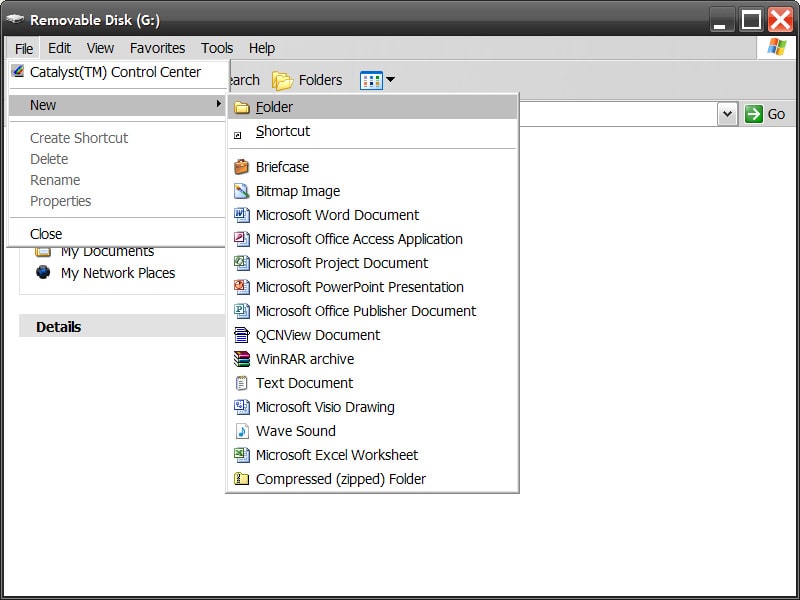
Following are instructions for how to set up the SD card or USB memory device: